The kids and I made 13 book safes for all the kids that we shared the New Year’s weekend with in Mammoth.
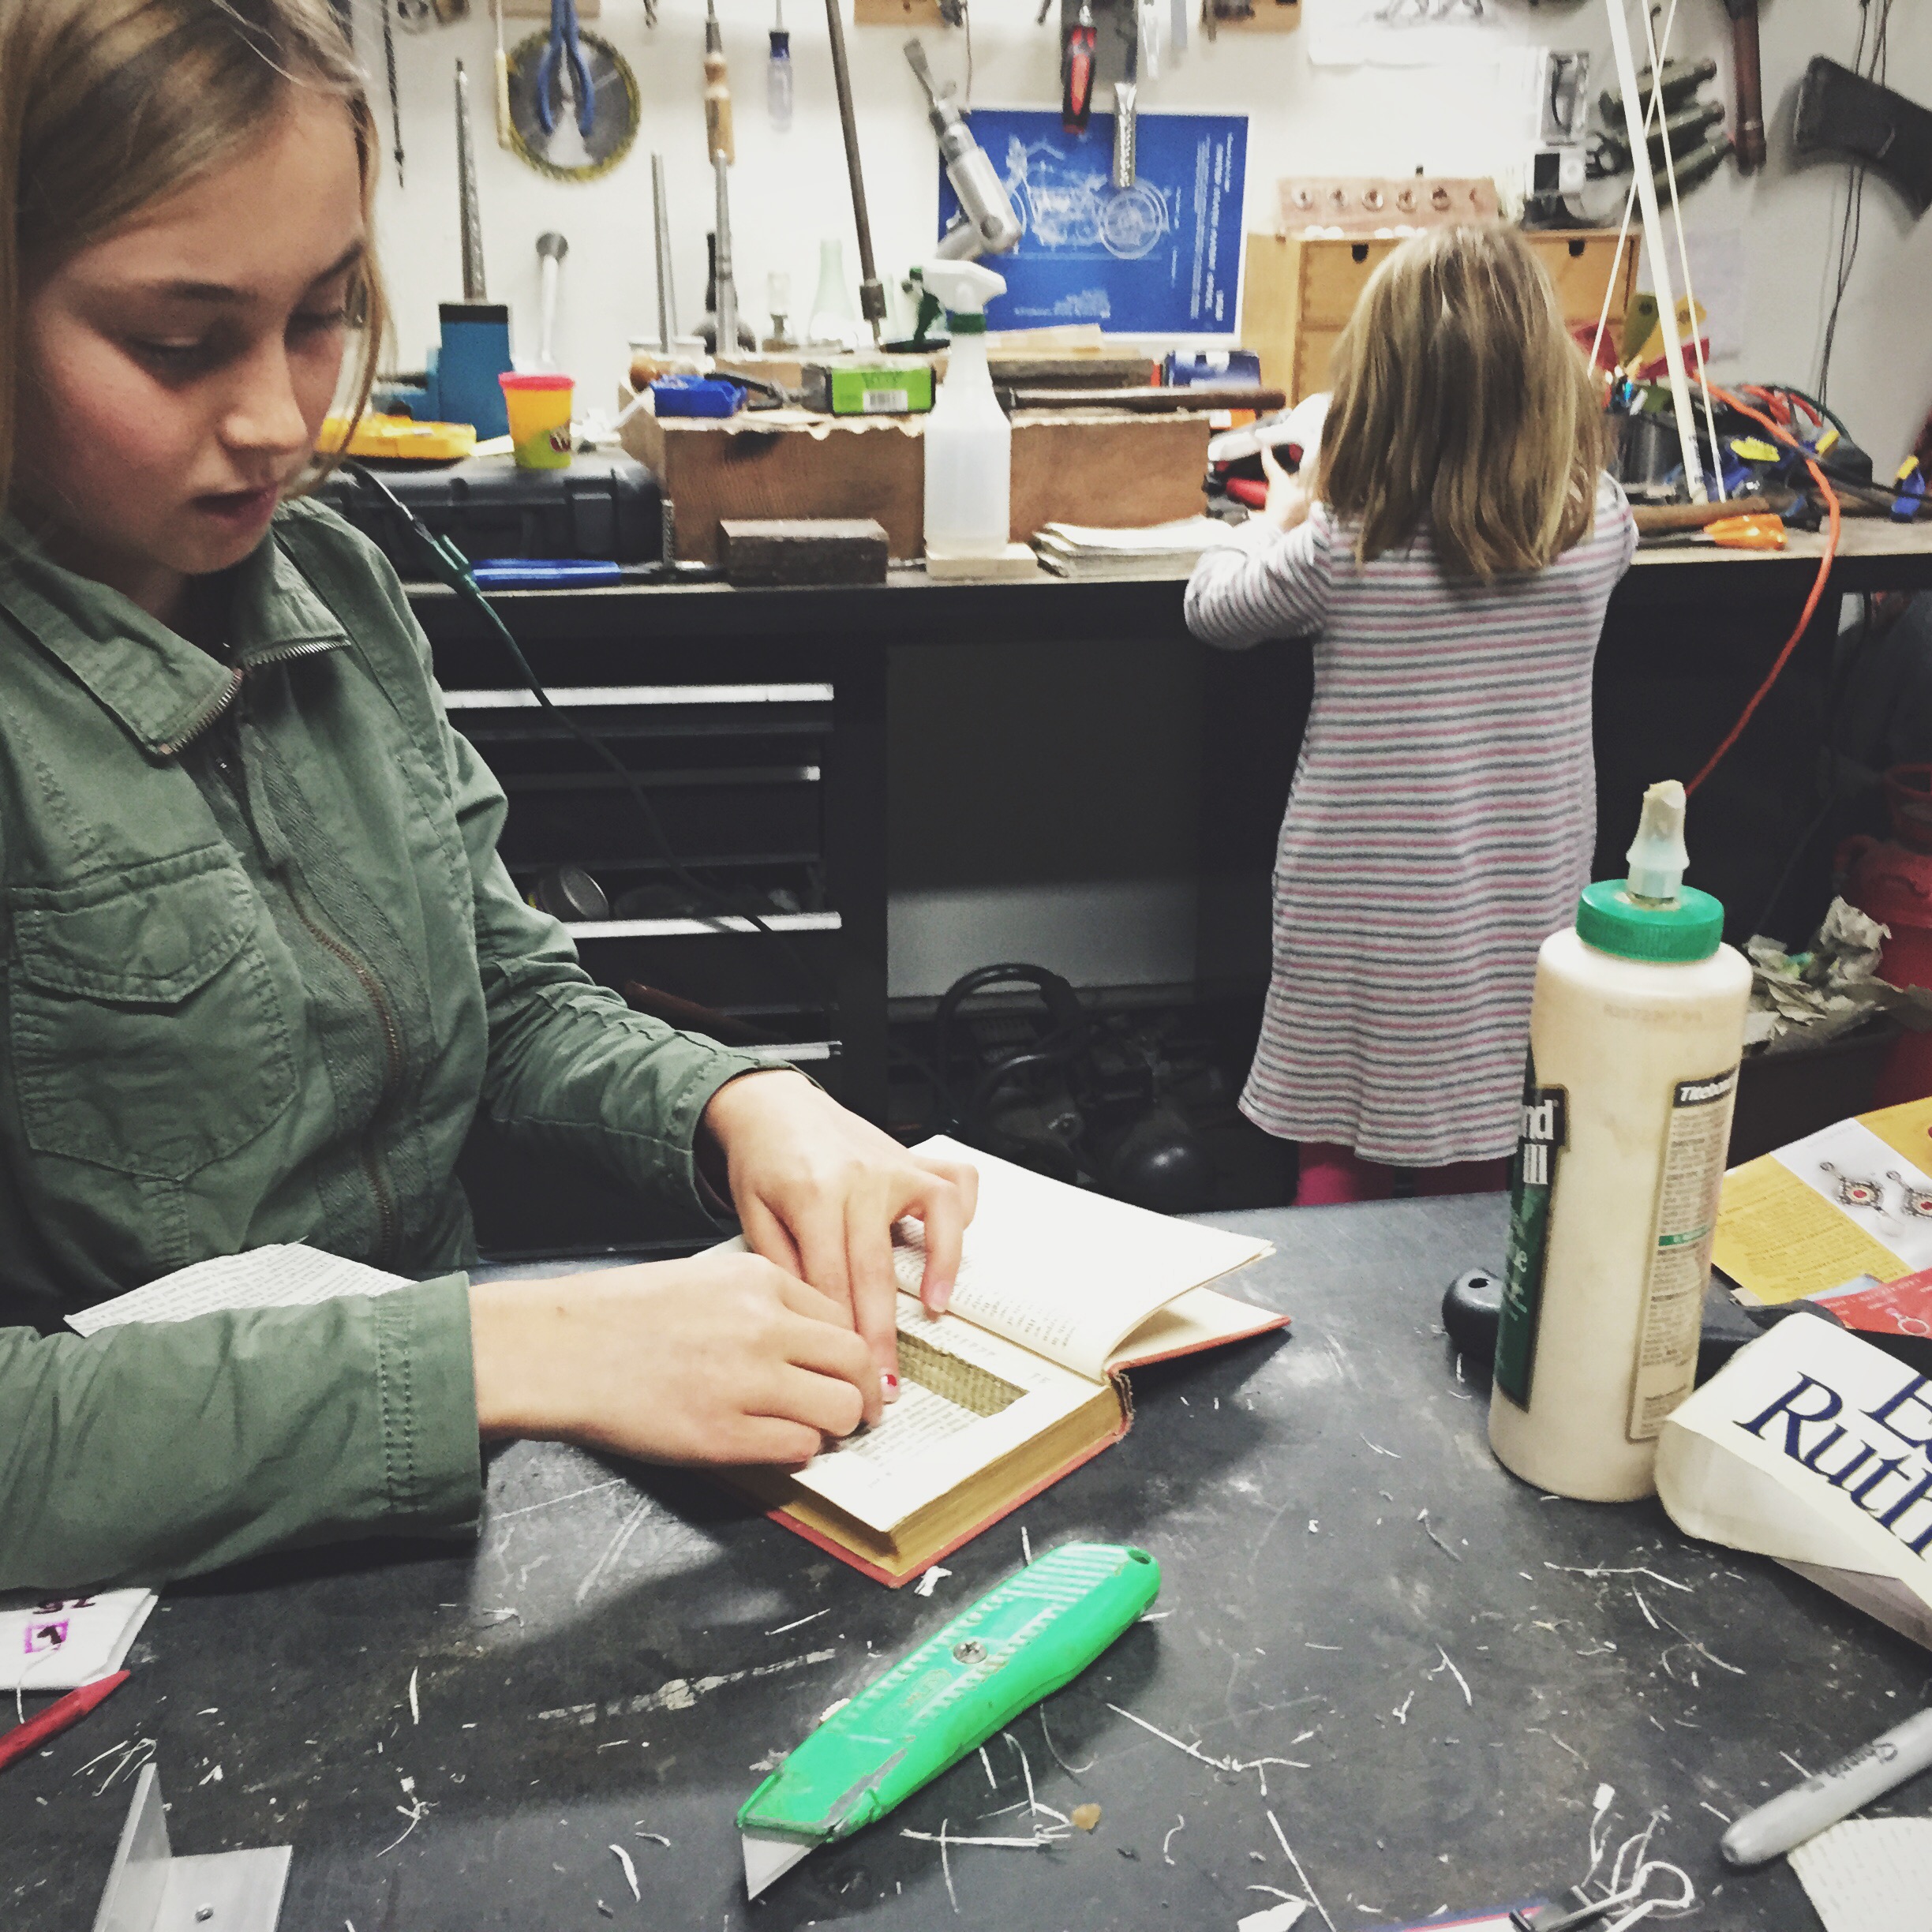

How to make book safes
The process is easy and takes around 45 minutes per book, here are quick instructions:
- Hard cover books work best – if you don’t have any lying around, yard sales and thrift stores are a good source.
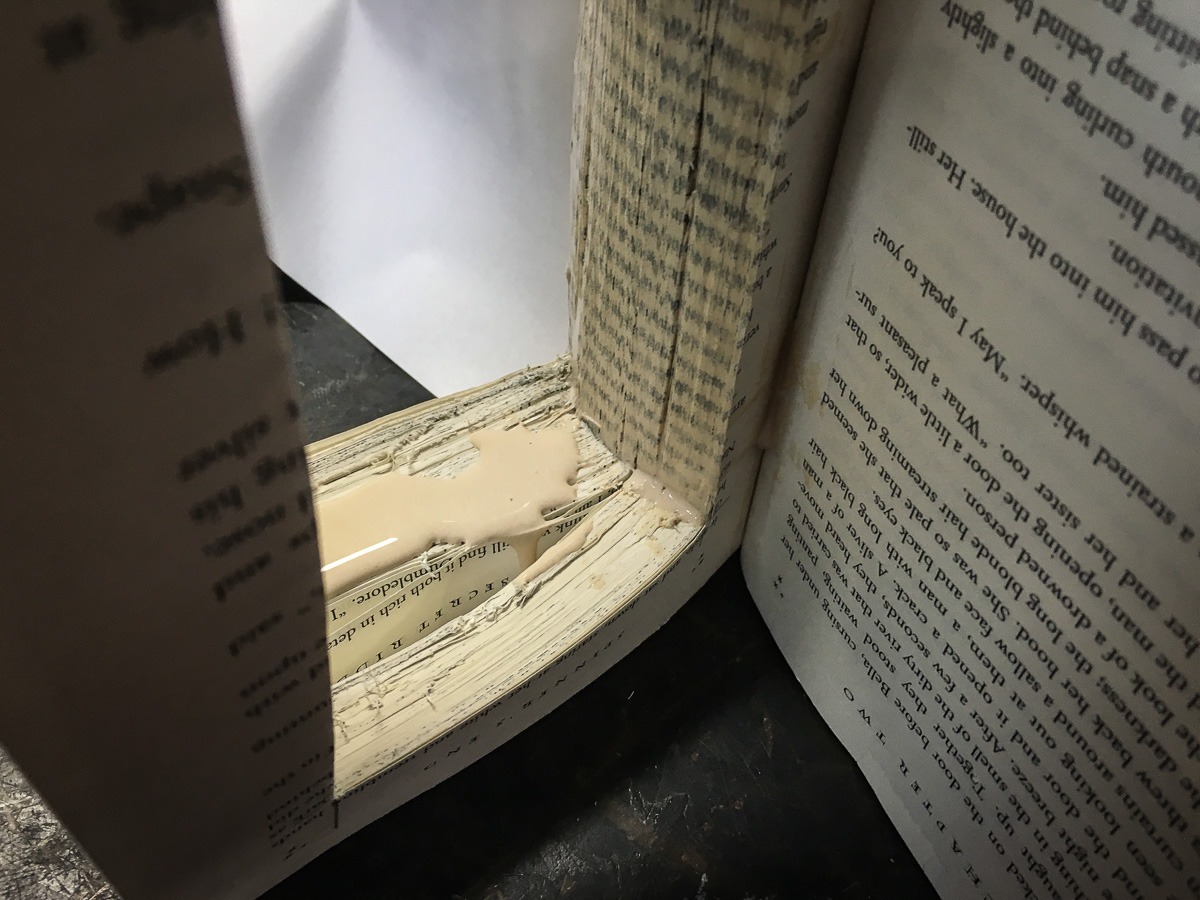
- Close the book and apply glue to the exposed page edges around the outside of the book. Â Be sure to exclude a few pages at the front of the book – I used some paper to separate the front pages and keep them free of glue. Â You can skip this step if you wish to keep the book looking more natural – it just makes cutting a little harder (but worth it!)
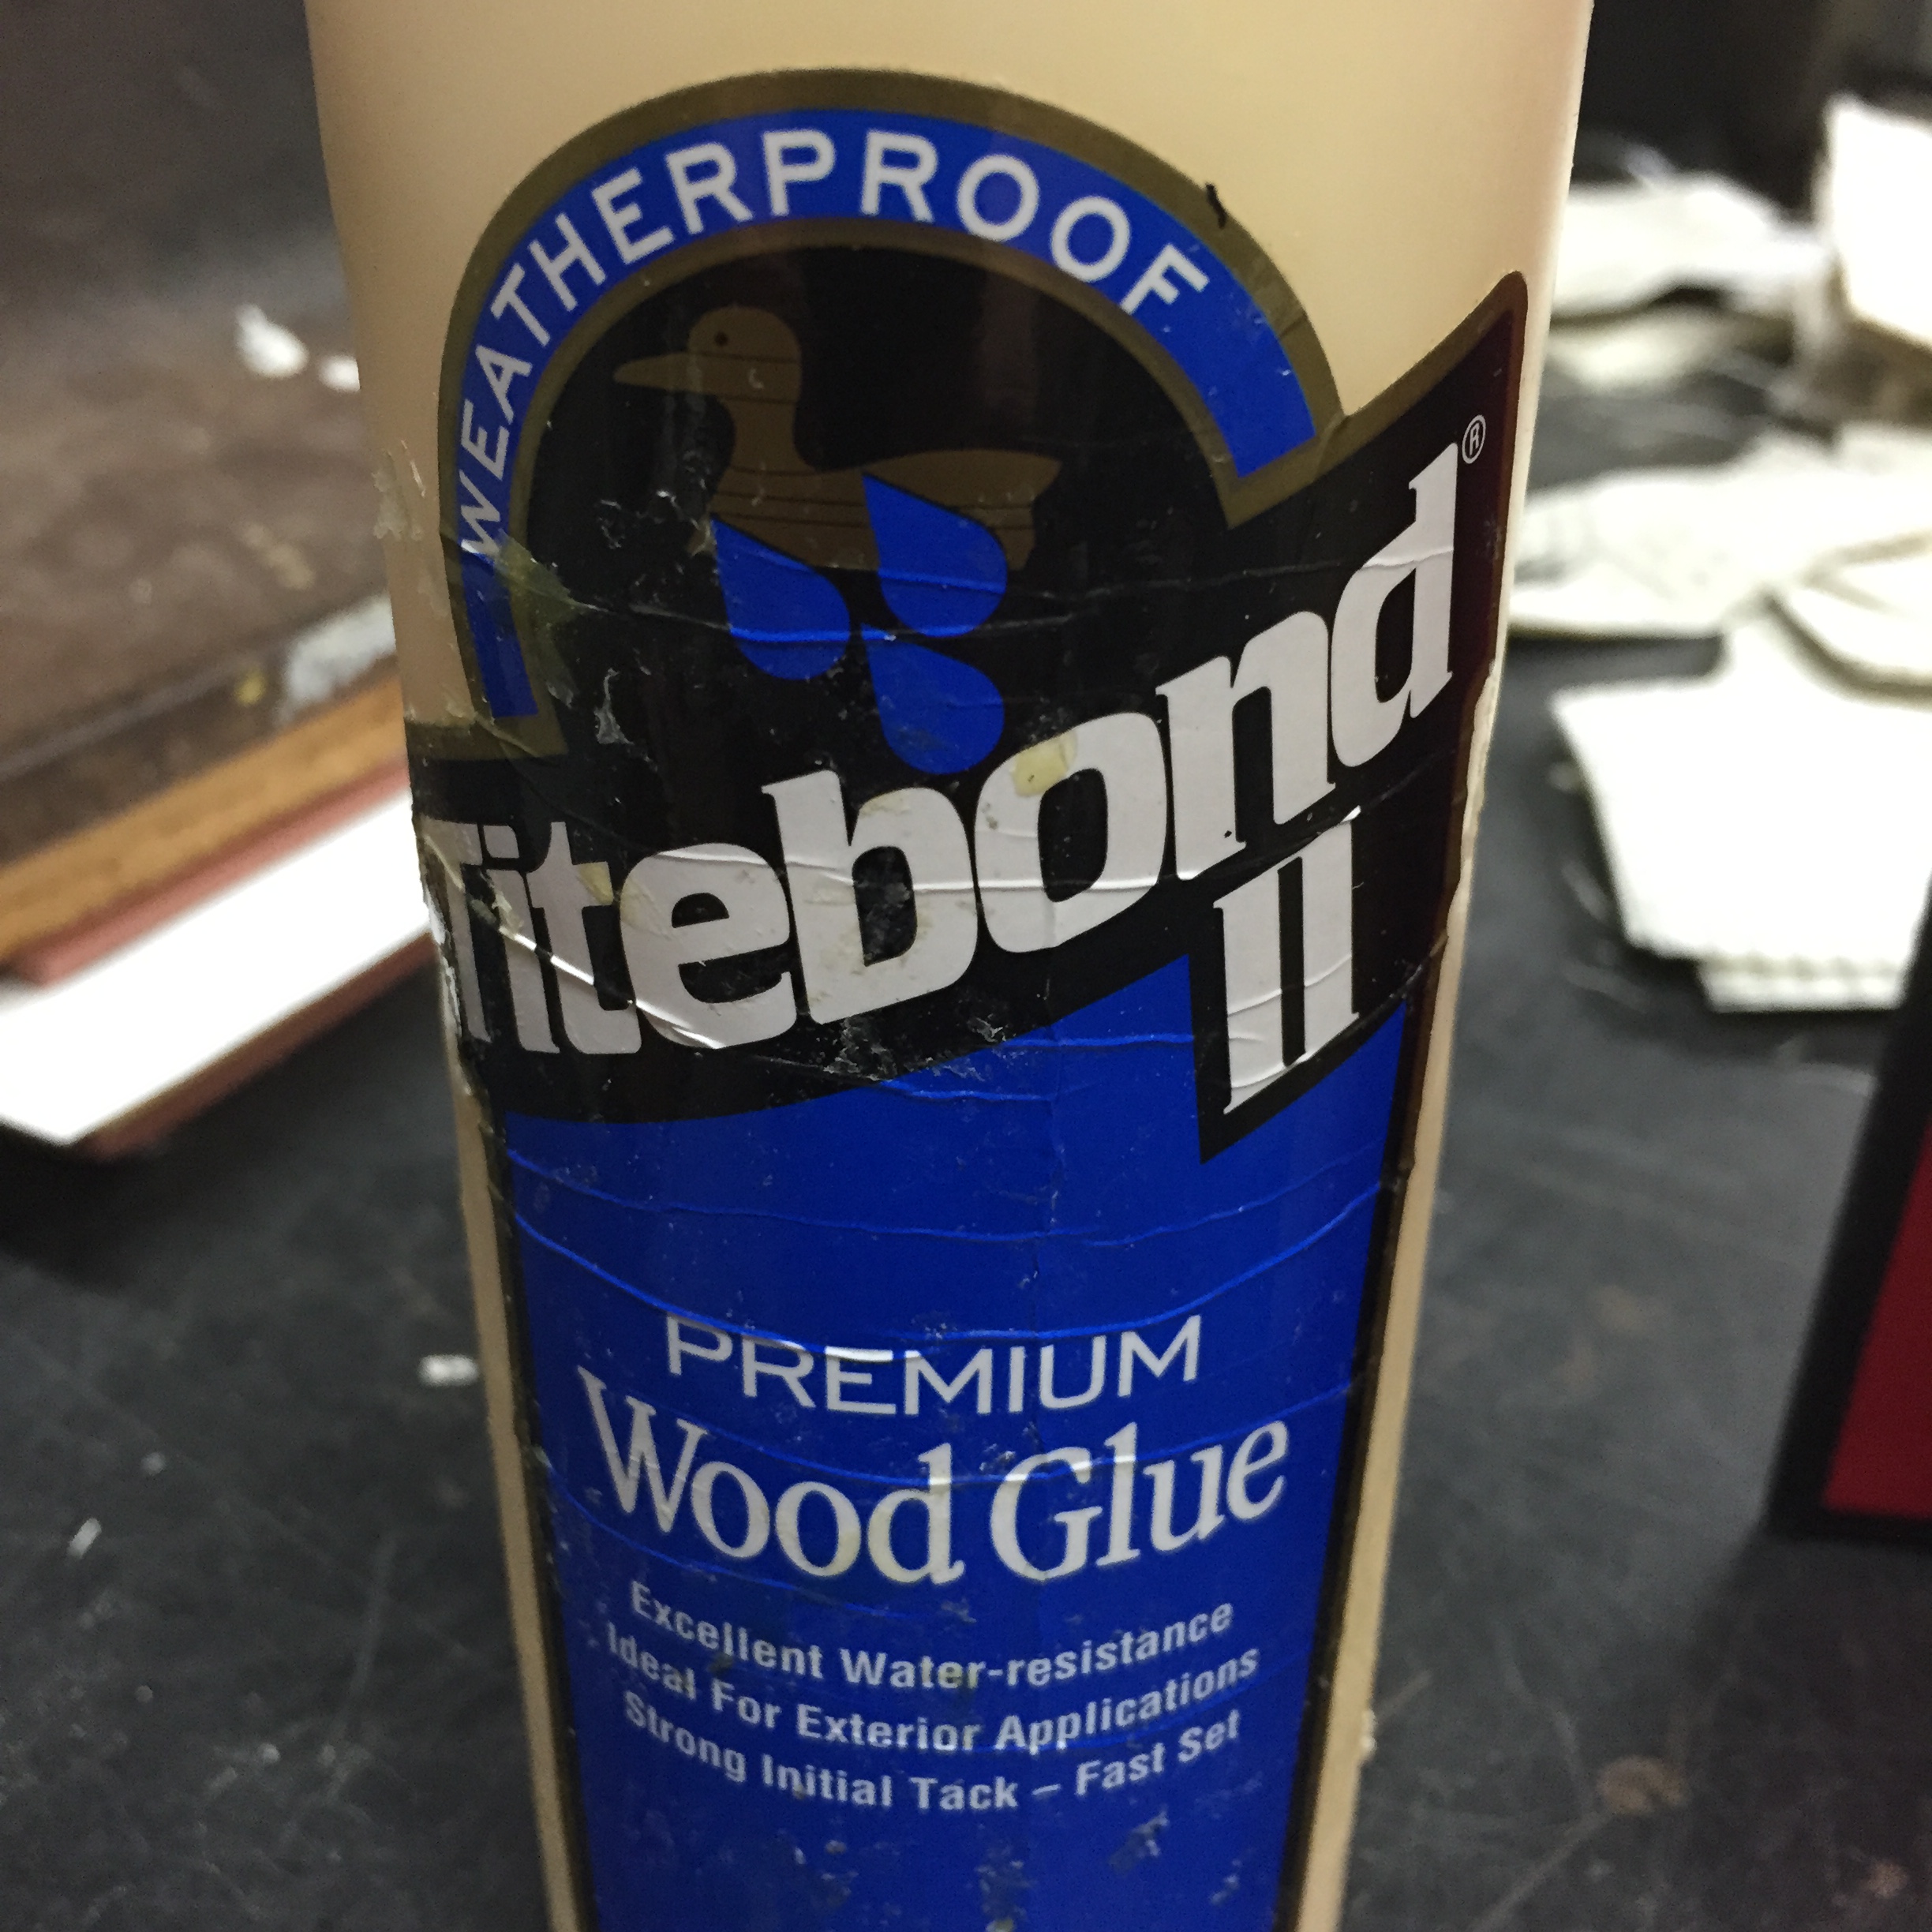
- I used Titebond II woodglue.
- Place the book under a heavy weight for 30 minutes.
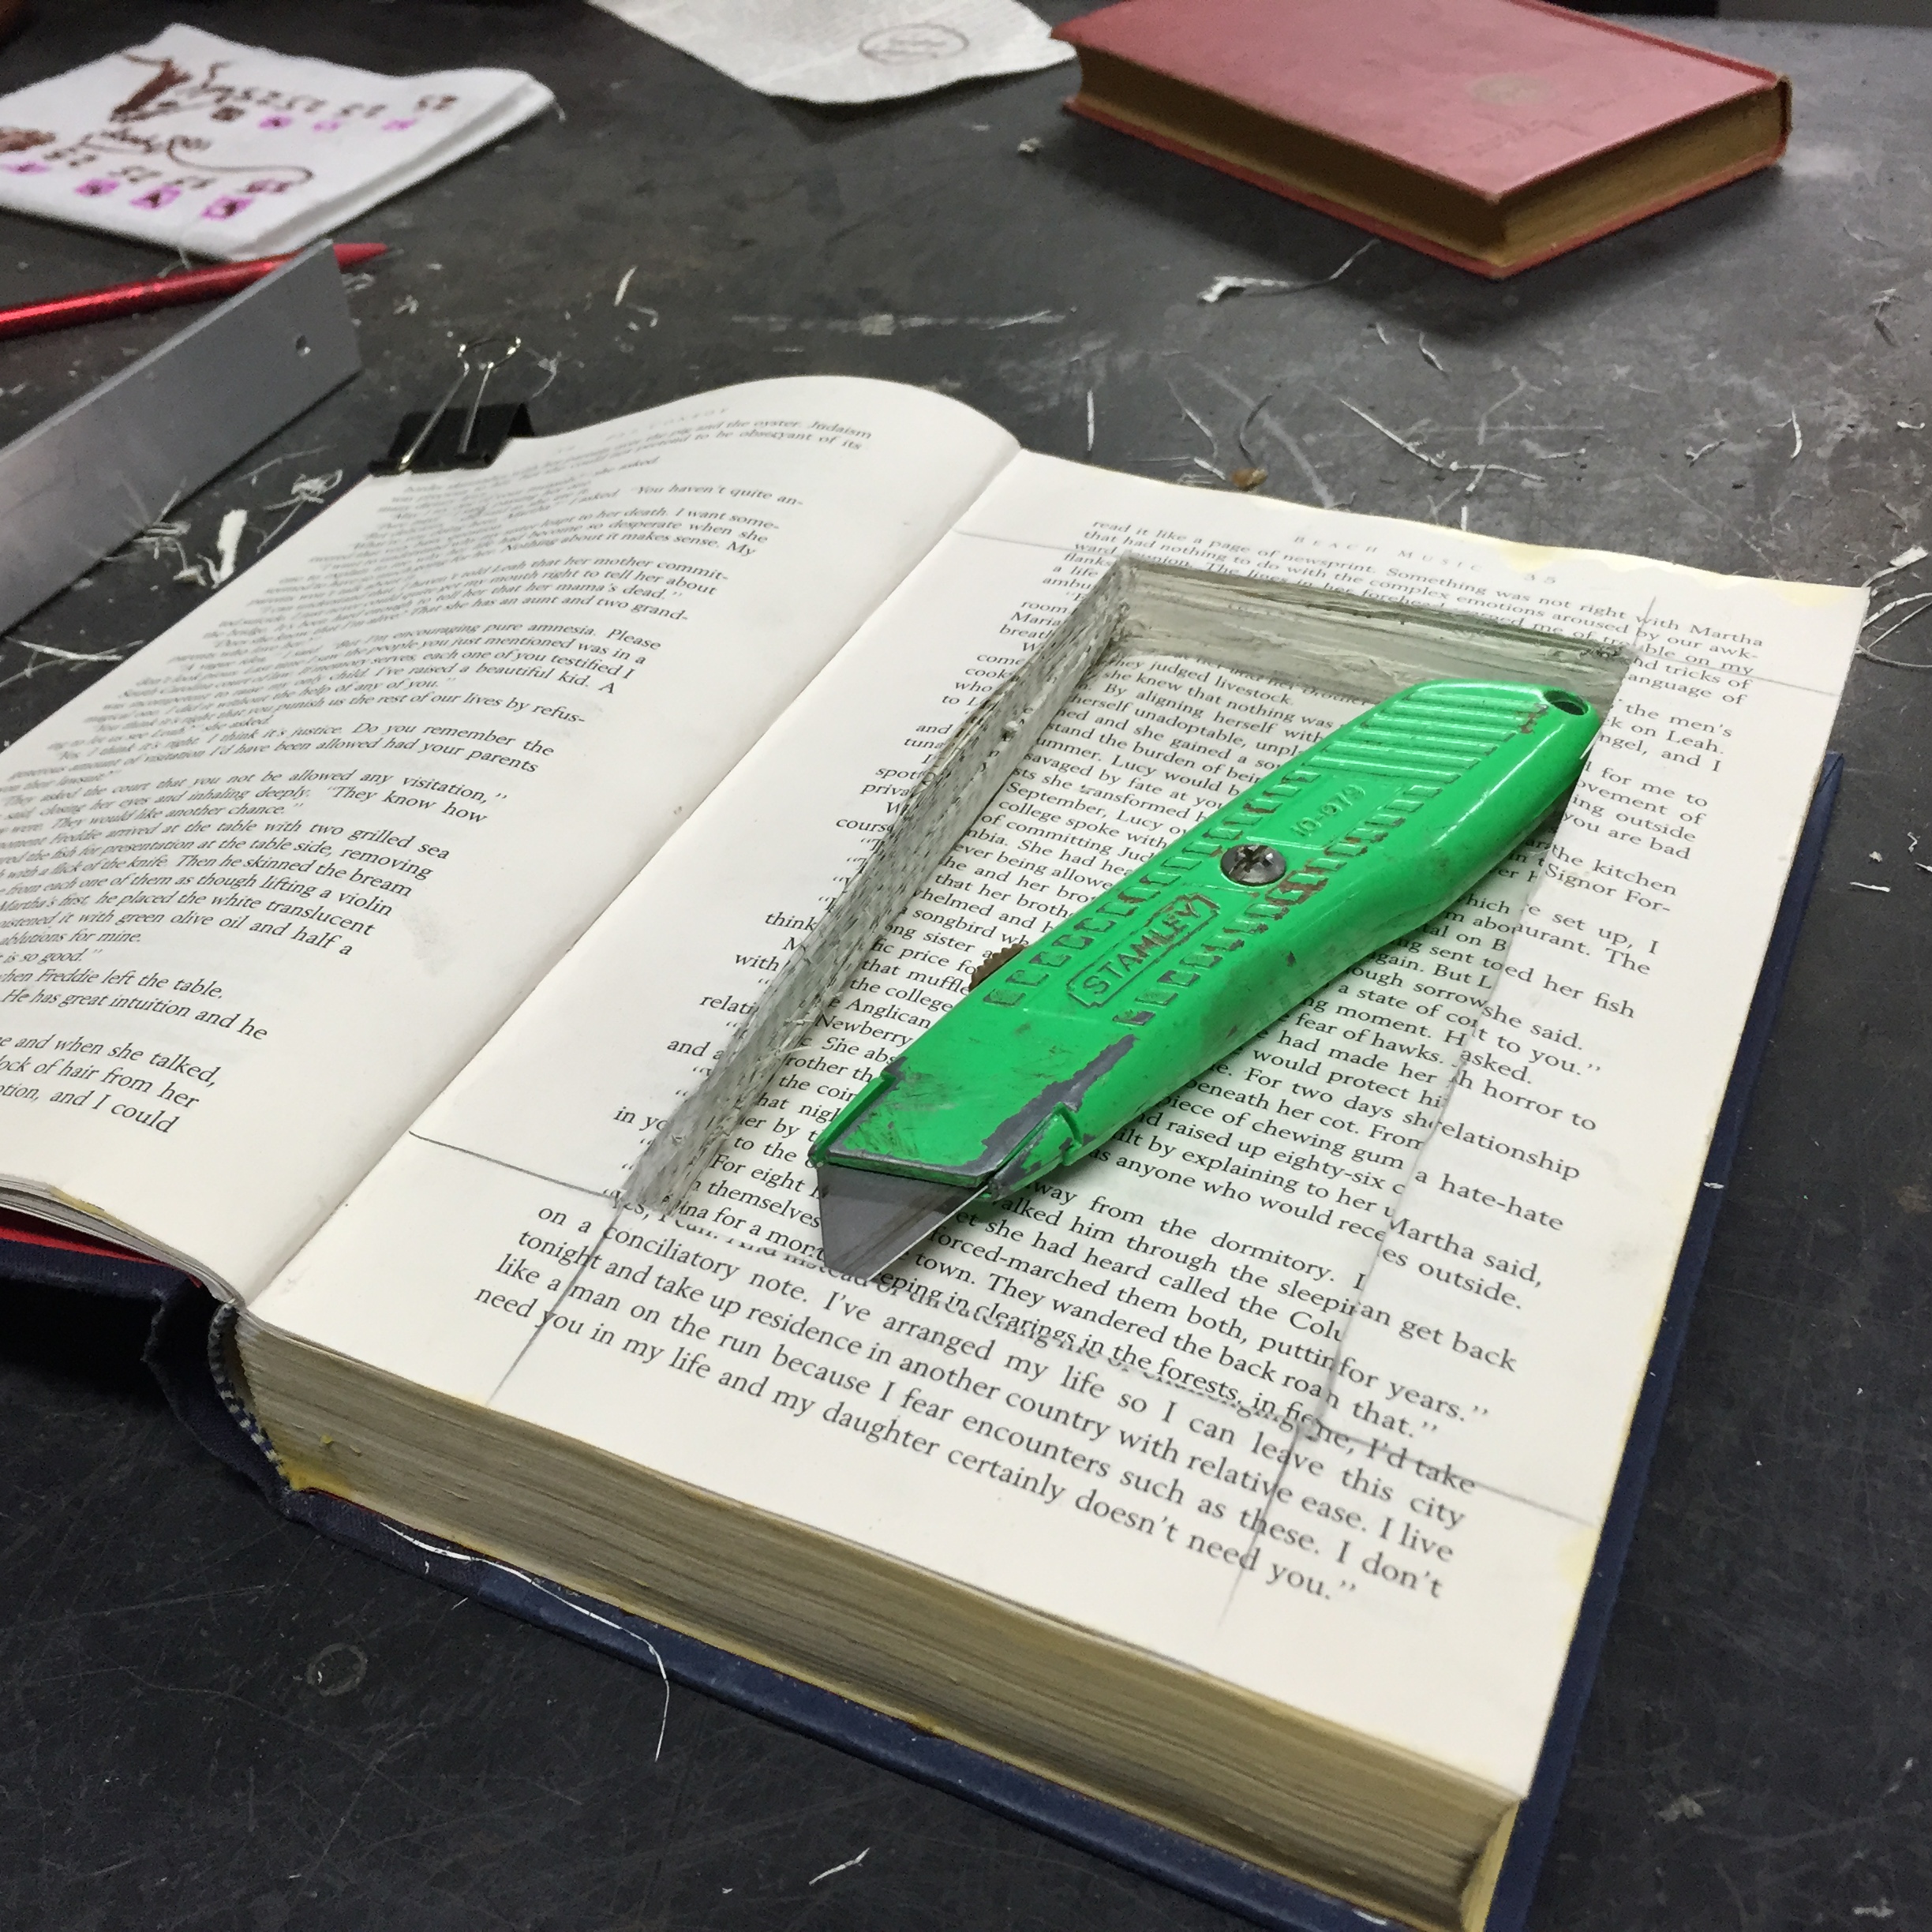
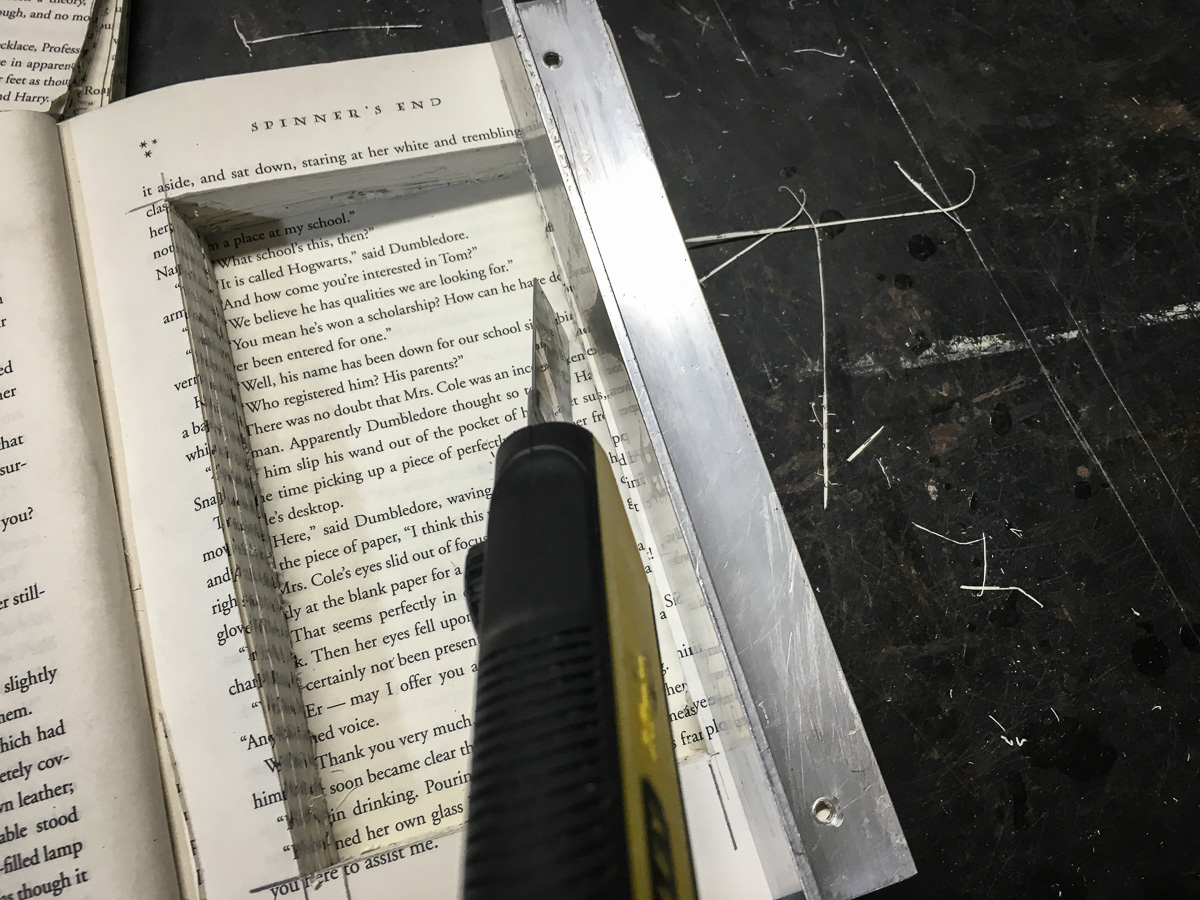
- Remove the book and mark a rectangle on the uppermost glued page.
- With a straight edge, start cutting around the rectangle – you’ll cut through 10-20 pages at a time.
- Remove the cut pages as you proceed.
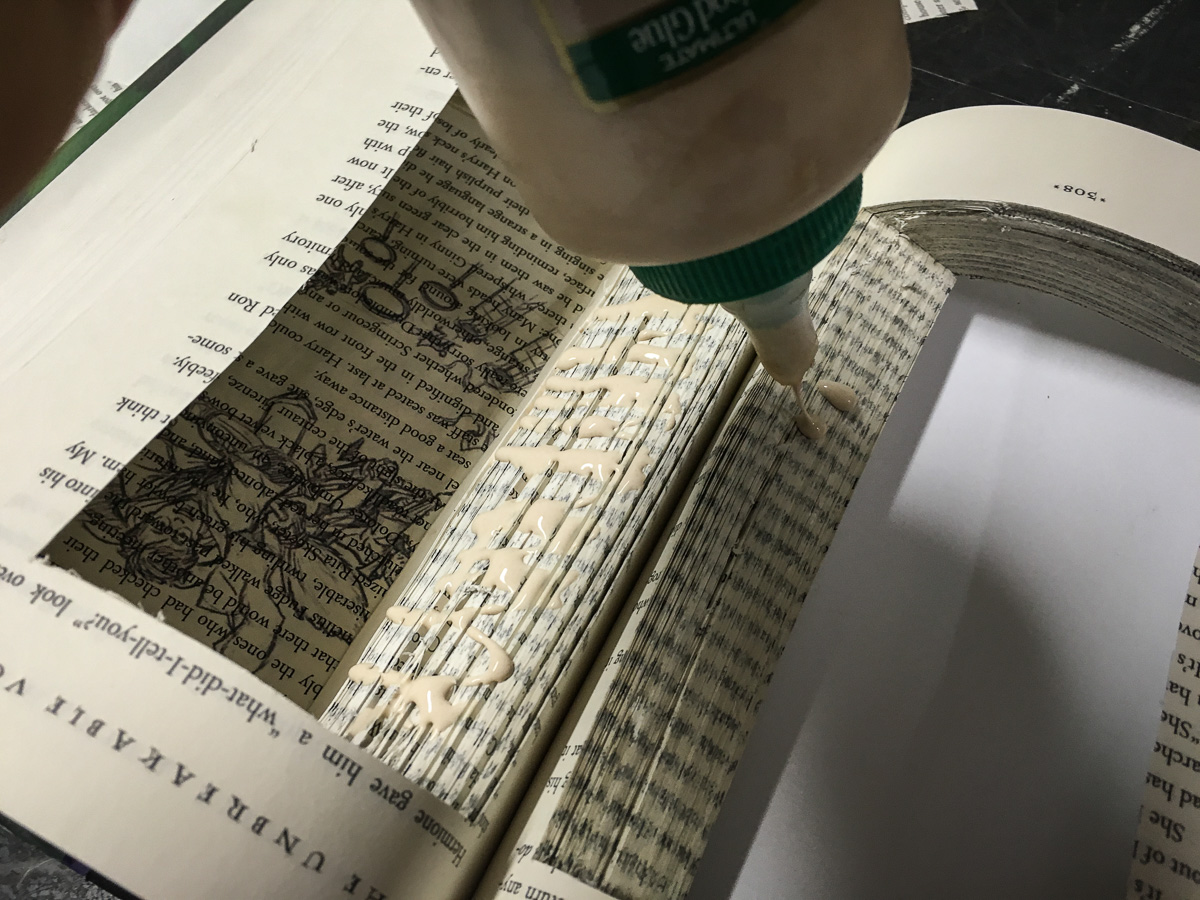
- Once you reach a satisfactory depth, clean up the edges and then apply glue inside the cavity to the cut surface.
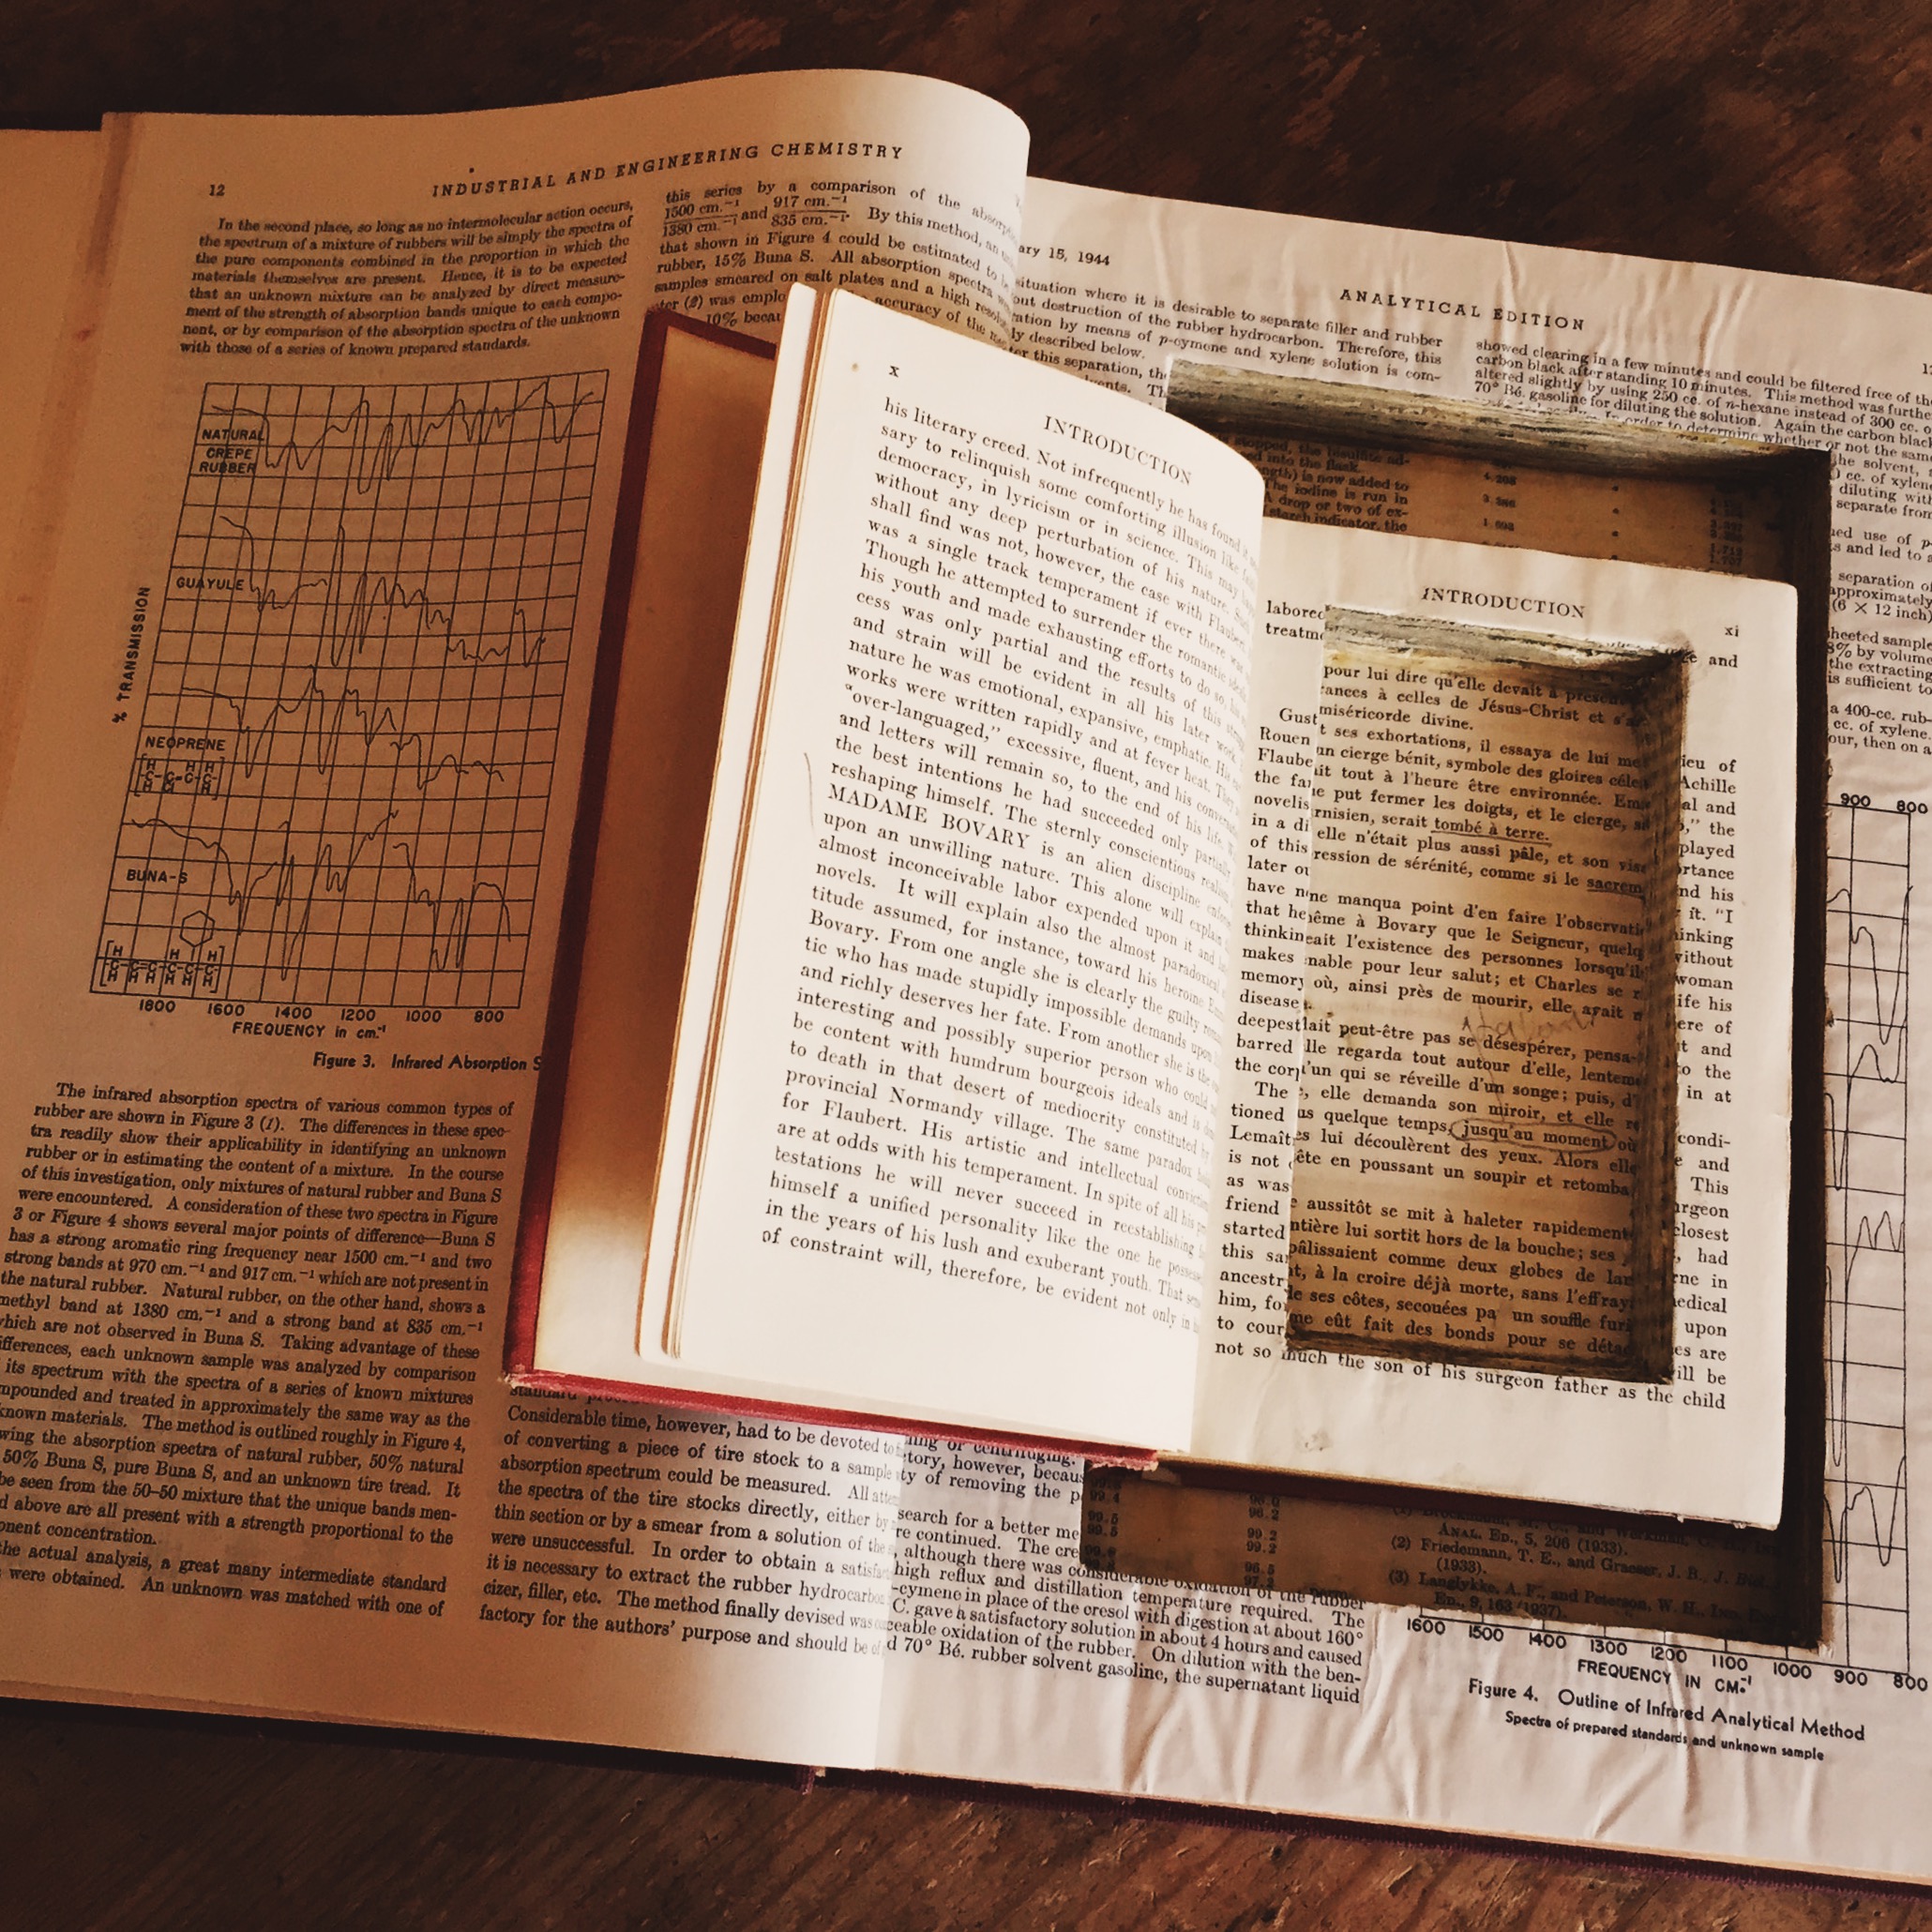
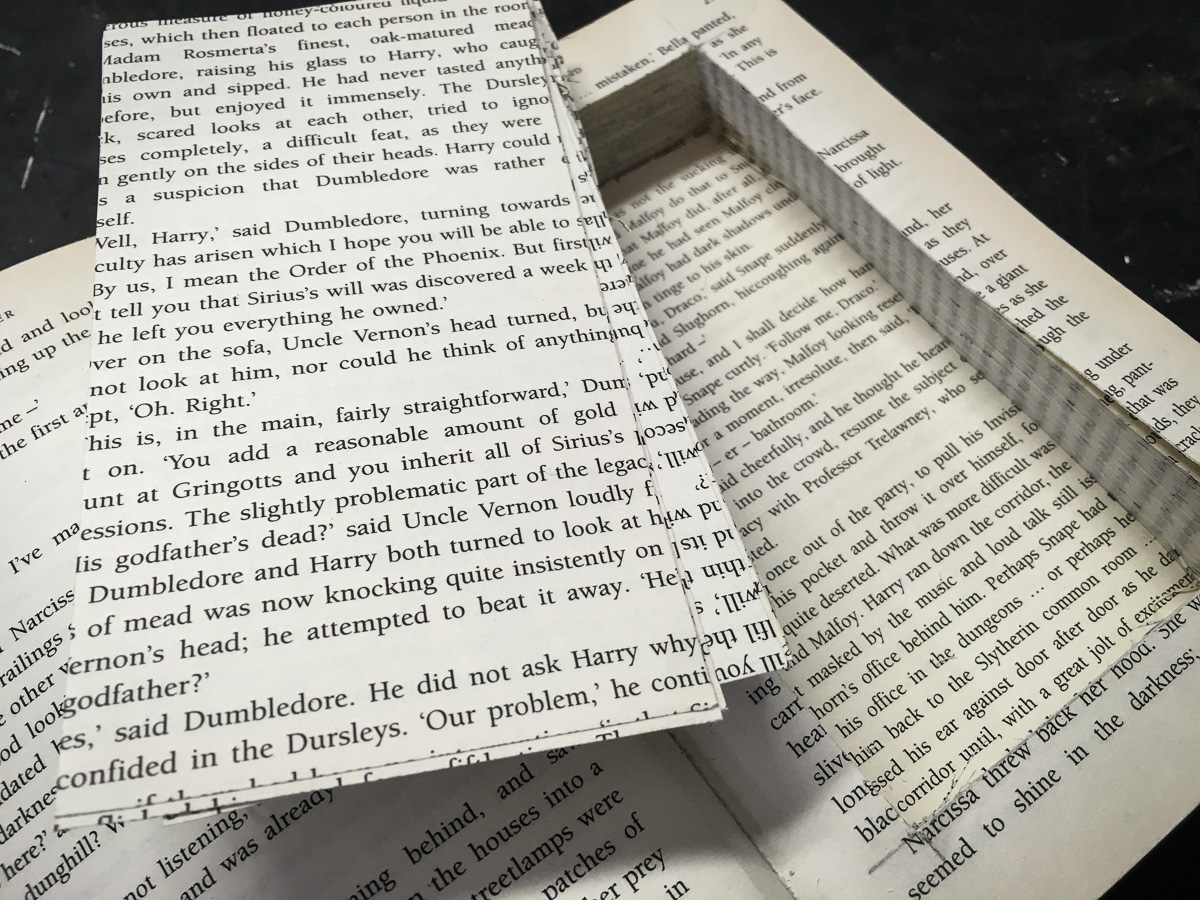
- Last step is to lightly glue an uncut page over the cavity and carefully cut around the edges to give a clean finish.
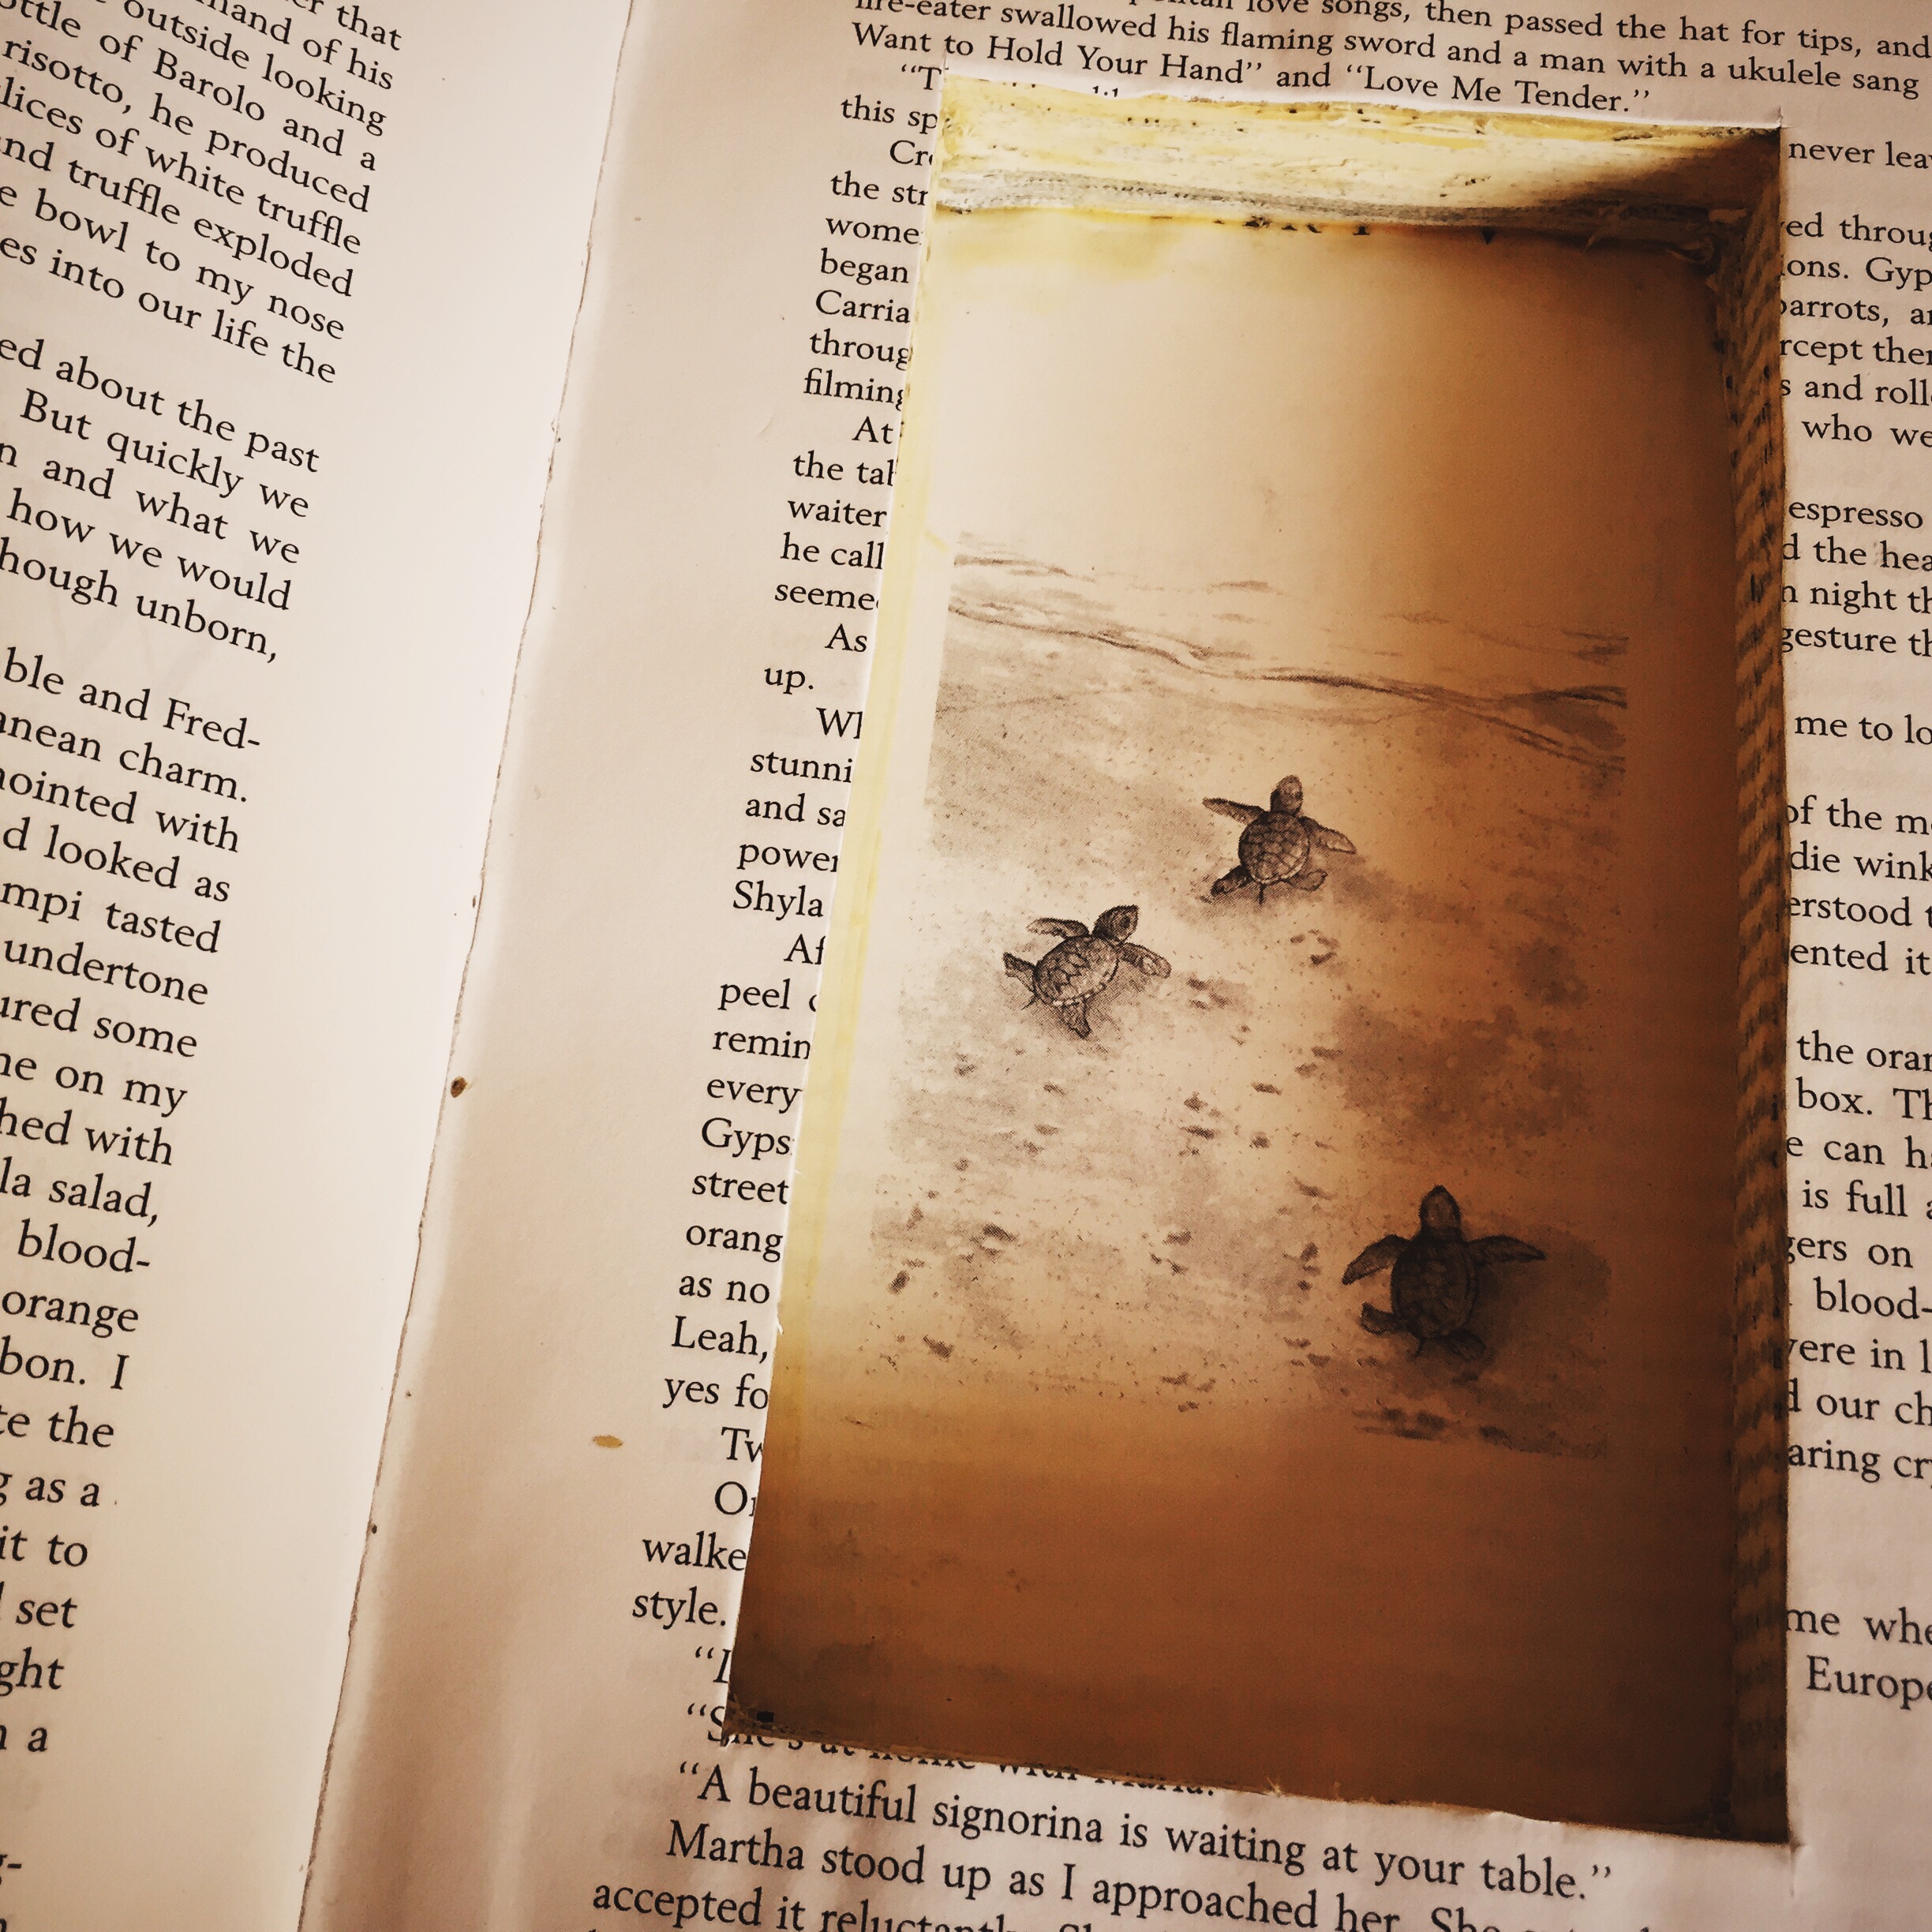
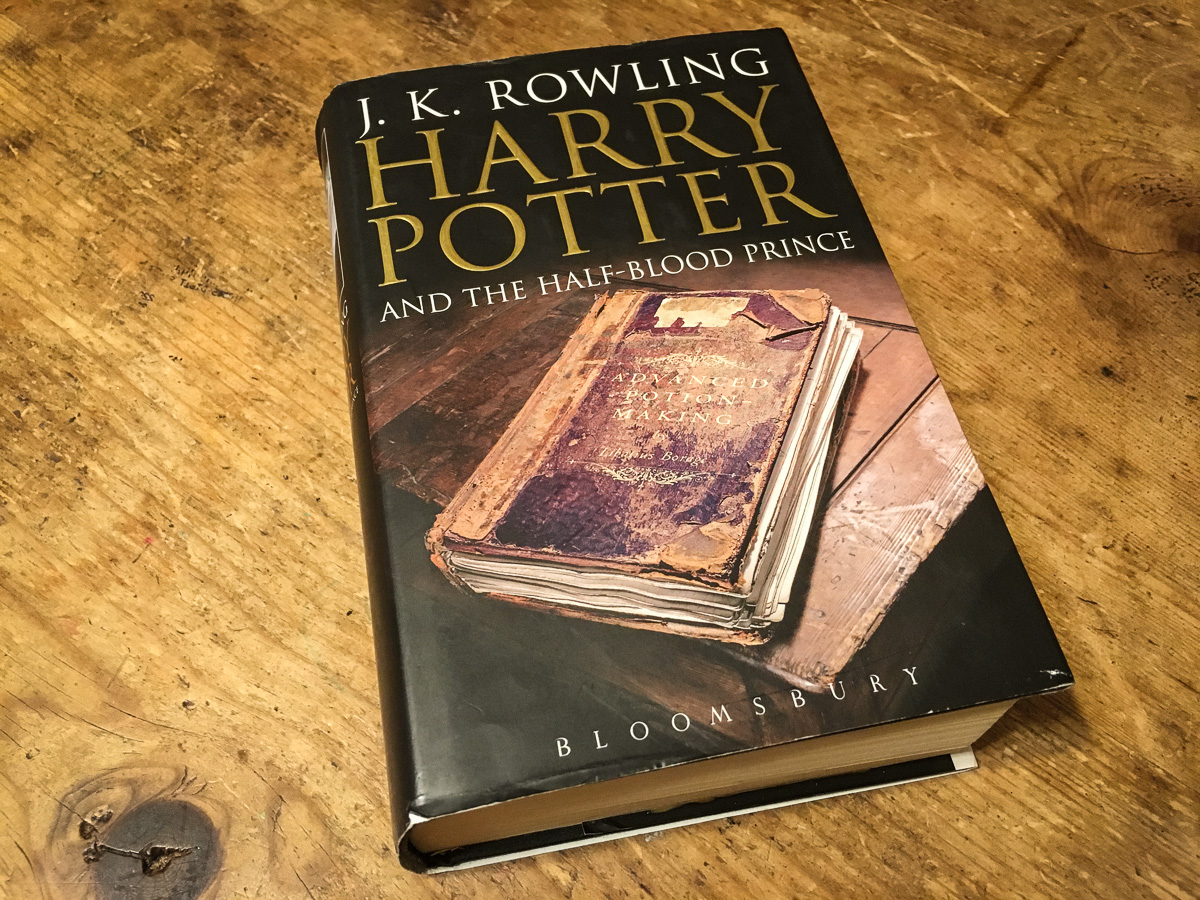
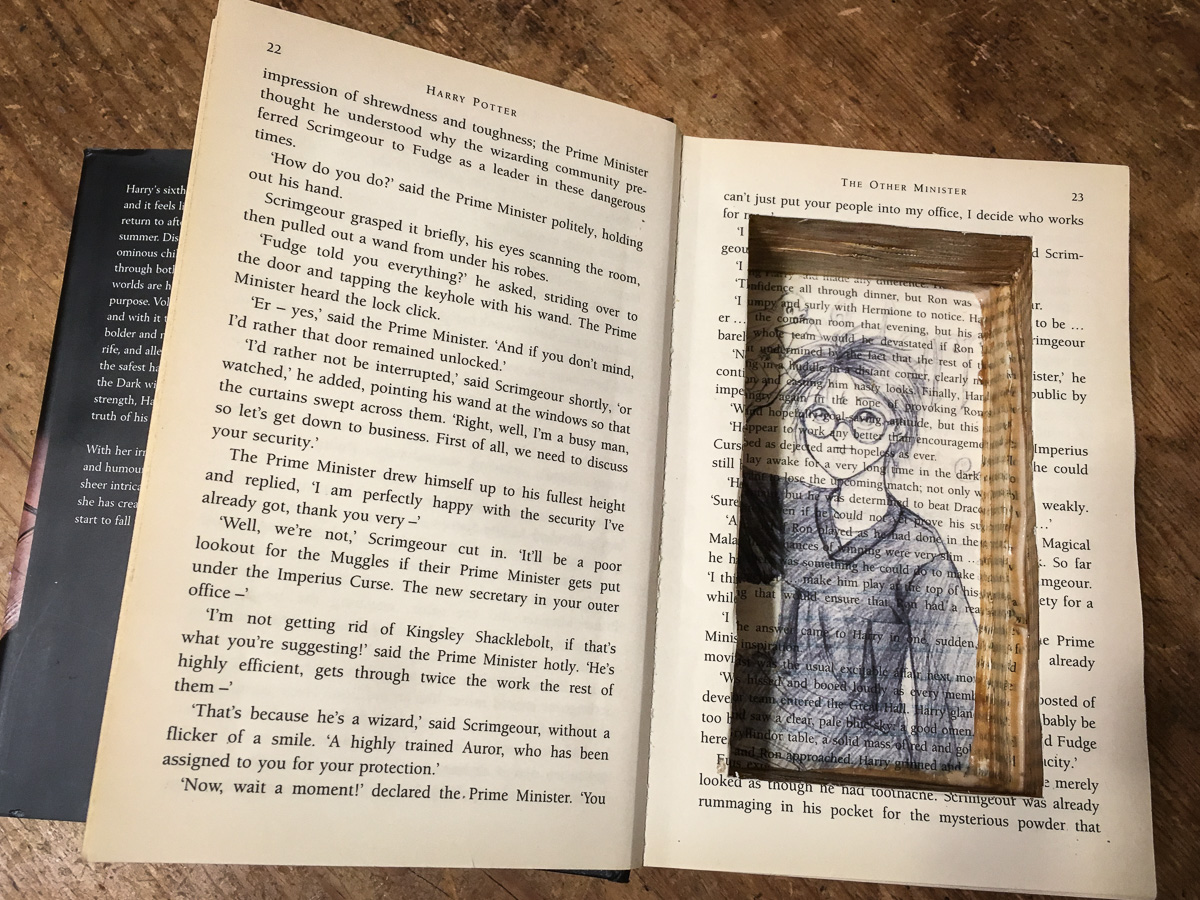
- For a nice touch, place a drawing or image on the exposed page that will be the bottom of the cavity. Â Cut out one of the full size pages and attach it lightly to a sheet of printer paper with scotch tape and print a drawing on it. I searched for pencil drawings to find the Harry Potter page shown in the photos.